

Tender Oven BBQ Ribs with Honey Barbecue Glaze

Tender oven-baked pork ribs coated in a smoky spice rub and finished with a sticky barbecue honey glaze.
Printable Recipe Card
Tender Oven BBQ Ribs with Honey Barbecue Glaze
Tender oven-baked pork ribs coated in a smoky spice rub and finished with a sticky barbecue honey glaze.
15 minutes
Not listed
Not listed
3 servings
Dinner
Not listed
3 servings
620 calories
Ingredients
- 1 rack pork ribs (baby back or spare ribs)
- 1 tablespoon smoked paprika
- 1 teaspoon garlic powder
- 1 teaspoon onion powder
- 1 teaspoon chili powder
- 1 teaspoon salt
- 1/2 teaspoon black pepper
- 1 cup barbecue sauce
- 2 tablespoons honey or maple syrup
- 1 tablespoon olive oil
- Chopped parsley for garnish (optional)
Instructions
- Preheat the oven to 300°F (150°C).
- Remove the silver skin membrane from the back of the ribs for more tender results.
- In a small bowl, mix smoked paprika, garlic powder, onion powder, chili powder, salt, and black pepper.
- Rub the ribs with olive oil, then coat evenly with the spice mixture.
- Place the ribs on a foil-lined baking sheet and cover tightly with aluminum foil.
- Bake for 2 to 2 1/2 hours until the ribs are tender.
- In a bowl, mix the barbecue sauce with honey or maple syrup to create a sticky glaze.
- Remove the foil and brush the ribs generously with the barbecue glaze.
- Broil or bake at 400°F (200°C) for 5 to 10 minutes until the glaze caramelizes and becomes sticky.
- Let the ribs rest for 5 minutes, slice between the bones, garnish with parsley if desired, and serve hot.
Nutrition
Sticky BBQ Pork Ribs
Few dishes capture the joy of comfort food quite like a rack of sticky BBQ pork ribs. Tender, juicy, and coated in a smoky spice rub, these ribs are slowly baked until they become fall-off-the-bone soft. To finish, they’re brushed with a sweet and tangy barbecue honey glaze that caramelizes beautifully in the oven.
The result is a mouthwatering balance of smoky, sweet, and savory flavors in every bite.
While ribs might seem intimidating to make at home, this recipe proves they’re actually surprisingly simple. With just a handful of pantry spices and a low, slow oven bake, you can create restaurant-quality ribs right in your kitchen.
Perfect for weekend dinners, backyard gatherings, or game day spreads, these sticky BBQ ribs are guaranteed to impress.
Why I Love This Recipe
This recipe checks all the boxes for a great homemade meal.
First, it delivers deep barbecue flavor without needing a grill or smoker. The spice rub creates a rich smoky base, while the sticky glaze adds that signature barbecue finish.
Second, the cooking method is incredibly forgiving. The low oven temperature allows the ribs to slowly tenderize, ensuring juicy, flavorful meat every time.
And finally, these ribs pair beautifully with simple sides like crisp salads. A fresh option like Easy Homemade Caesar Salad with Chicken balances the richness of the ribs perfectly.
Tips for Success
Remove the membrane
This small step makes a big difference in tenderness.
Cook low and slow
The long bake time is what creates the fall-apart texture.
Use foil to lock in moisture
Covering the ribs ensures they stay juicy while cooking.
Finish with high heat
The final broil caramelizes the glaze and creates that signature sticky coating.
Serving Suggestions and Pairings
These ribs shine as the centerpiece of a hearty dinner. Pair them with classic comfort-food sides for a full meal.
A crisp salad like Easy Homemade Caesar Salad with Chicken adds freshness and balances the richness of the ribs.
For a comforting pasta side, try serving them with Fettuccine Alfredo – The Creamy Pasta That Became a Comfort Food Favorite.
And if you're planning a weekend brunch or family gathering the next day, sweet treats like Fluffy Buttermilk Pancakes – The Secret to a Perfect Breakfast Stack make a great addition to your menu.
Nutritional Information (Per Serving)
Approximate values:
- Calories: 620
- Fat: 38 g
- Carbohydrates: 24 g
- Protein: 42 g
These ribs are hearty and satisfying, making them perfect for special dinners or weekend meals.
Storage and Leftover Tips
Leftover ribs store well and reheat beautifully.
Refrigerator
Store cooked ribs in an airtight container for up to 3–4 days.
Reheating
Reheat in a covered dish at 300°F for about 15 minutes to keep them moist.
Freezing
Ribs can be frozen for up to 2 months. Wrap tightly in foil and store in a freezer-safe bag.
More Recipes You’ll Love
If you enjoy comforting, crowd-pleasing recipes like these ribs, try these favorites:
- The Ultimate Turkey Club Wrap for Easy Lunches
- Fluffy Buttermilk Pancakes – The Secret to a Perfect Breakfast Stack
- Easy Homemade Caesar Salad with Chicken
- Fettuccine Alfredo – The Creamy Pasta That Became a Comfort Food Favorite
- Moist 1-Bowl Banana Bread – The Easy Recipe That Never Fails
These dishes are perfect for creating a well-rounded menu of comforting homemade meals.
Final Thoughts
These Sticky BBQ Pork Ribs prove that you don’t need a smoker or complicated techniques to create amazing barbecue at home. With a smoky spice rub, slow oven cooking, and a sweet sticky glaze, this recipe delivers tender, flavorful ribs every time.
Whether you’re hosting friends, cooking a weekend dinner, or just craving great barbecue, this recipe is sure to become a favorite.
If you try it, I’d love to hear how it turned out. Leave a comment, share your tips, and follow along for more delicious recipes from Jason Griffith at Chef Maniac.
Why You?ll Love This Recipe
This Tender Oven BBQ Ribs with Honey Barbecue Glaze is built for home cooks who want a reliable Dinner without turning dinner or dessert into a project. The ingredient list stays approachable, the method is clear, and the finished dish gives you the kind of comfort-food payoff that makes a recipe worth saving.
Because the recipe card below keeps the exact measurements and steps organized, this article focuses on the practical details that help the recipe come out better: timing, texture, ingredient choices, storage, serving ideas, and simple ways to adjust the flavor for your table.
Tips for the Best Results
Use the listed times as a guide, but remember that cookware, appliance strength, ingredient size, and starting temperature can all affect the final result. This recipe lists 15 minutes of prep time, the listed cook time of cook time, and about 15 minutes prep plus the listed cook time cooking total time, which makes it easier to plan around dinner, parties, or weekend cooking.
Season thoughtfully. Many comfort-food recipes use flavorful packaged ingredients, cheese, sauces, or seasoning blends, and those can vary in salt level. Taste when it is safe to do so, then adjust at the end. A small amount of acid, fresh herbs, black pepper, or a creamy topping can make the finished dish feel more balanced.
Easy Variations
You can adapt this recipe based on what your family likes. Keep the main method the same, then change the seasoning, topping, vegetable, or serving style. If you want more heat, add a spicy element. If you want something milder, reduce strong seasonings and finish with a creamy or fresh topping.
For a heartier version, serve it with a simple side such as rice, potatoes, salad, bread, or roasted vegetables. For a lighter version, pair it with crisp greens or fresh fruit, depending on whether the recipe is savory or sweet.
Storage and Reheating
Store leftovers in an airtight container in the refrigerator once the food has cooled. Most cooked dishes keep well for three to four days, while many desserts keep best when covered tightly so they do not dry out.
Reheat gently when possible. A microwave is convenient for individual portions, but an oven, skillet, or air fryer can help bring back texture when the recipe has a crisp, baked, or toasted element.
What to Serve With It
This recipe makes 3 servings, so it can work as a main dish, side, dessert, or shareable recipe depending on the category. For savory recipes, pair it with something fresh or simple so the meal does not feel too heavy. A salad, roasted vegetable, bread, rice, or potatoes can round out the plate.
For sweeter recipes, serve smaller portions with coffee, milk, whipped cream, fresh fruit, or a simple scoop of vanilla ice cream. The goal is to support the main flavor rather than cover it up.
Food Safety and Doneness
Use visual cues and safe cooking temperatures when judging doneness. For meat, poultry, seafood, and egg-based recipes, an instant-read thermometer is the most reliable tool. You can review official guidance on the USDA safe minimum internal temperature chart.
For baked goods and desserts, look for the texture cues in the recipe card: set centers, golden edges, clean tester marks, or proper chilling time. Letting a recipe rest before serving often improves texture and makes slicing or plating easier.
Food Safety Source
For safe cooking temperatures and food handling basics, see the USDA safe minimum internal temperature chart.
Frequently Asked Questions
Can I make Tender Oven BBQ Ribs with Honey Barbecue Glaze ahead of time?
You can usually prepare some parts ahead of time, but follow the storage and reheating notes in the recipe for the best texture and food safety.
How should I store leftovers?
Store leftovers in an airtight container in the refrigerator. Use the storage instructions on this page when available, and reheat gently until hot.
Can I change the ingredients?
Yes. Most home-style recipes can be adjusted for taste, but keep the core cooking method and safe internal temperatures in mind when changing proteins or cook times.
More Recipes You'll Love
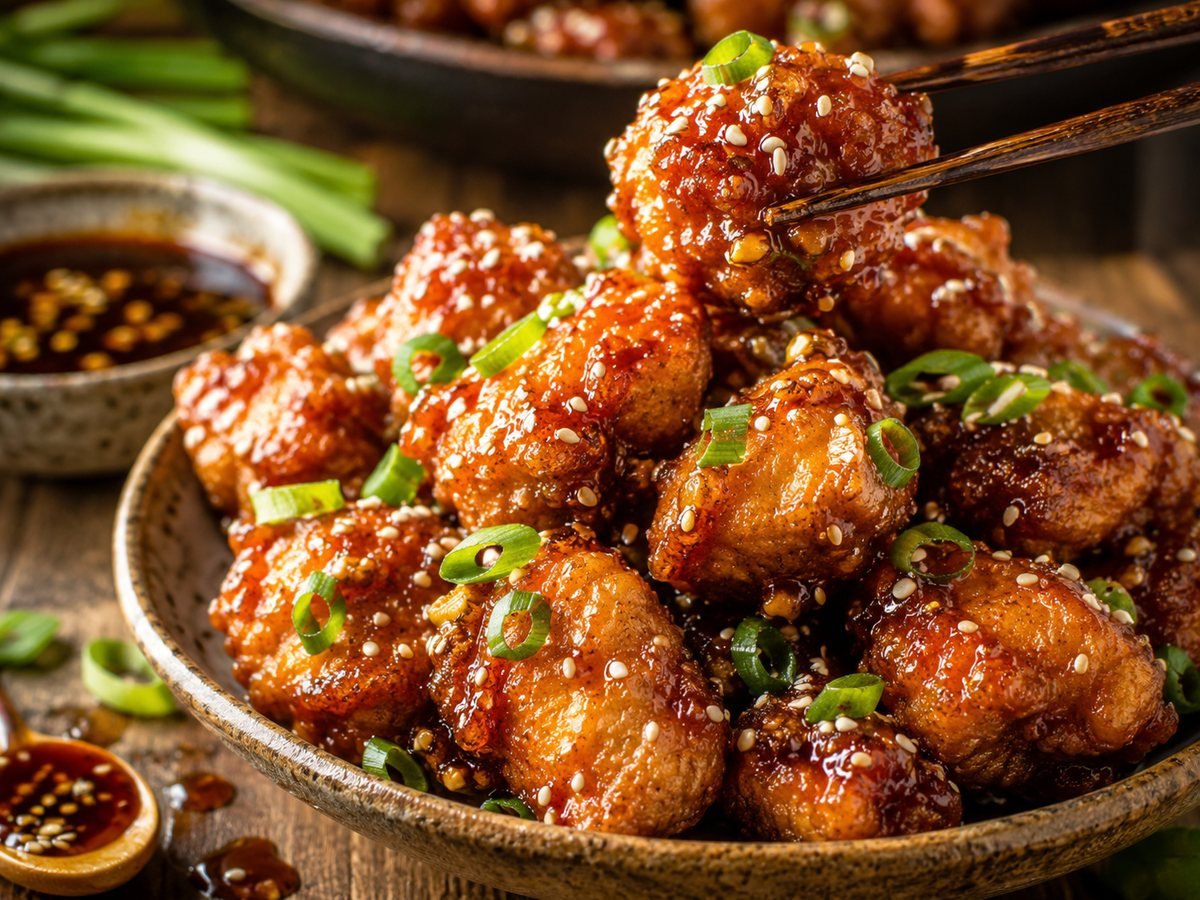
Crispy Honey Garlic Chicken Bites with Sticky Sauce
Crispy honey garlic chicken bites are tossed in a sticky sweet-savory sauce and finished with sesame seeds and green oni
View Recipe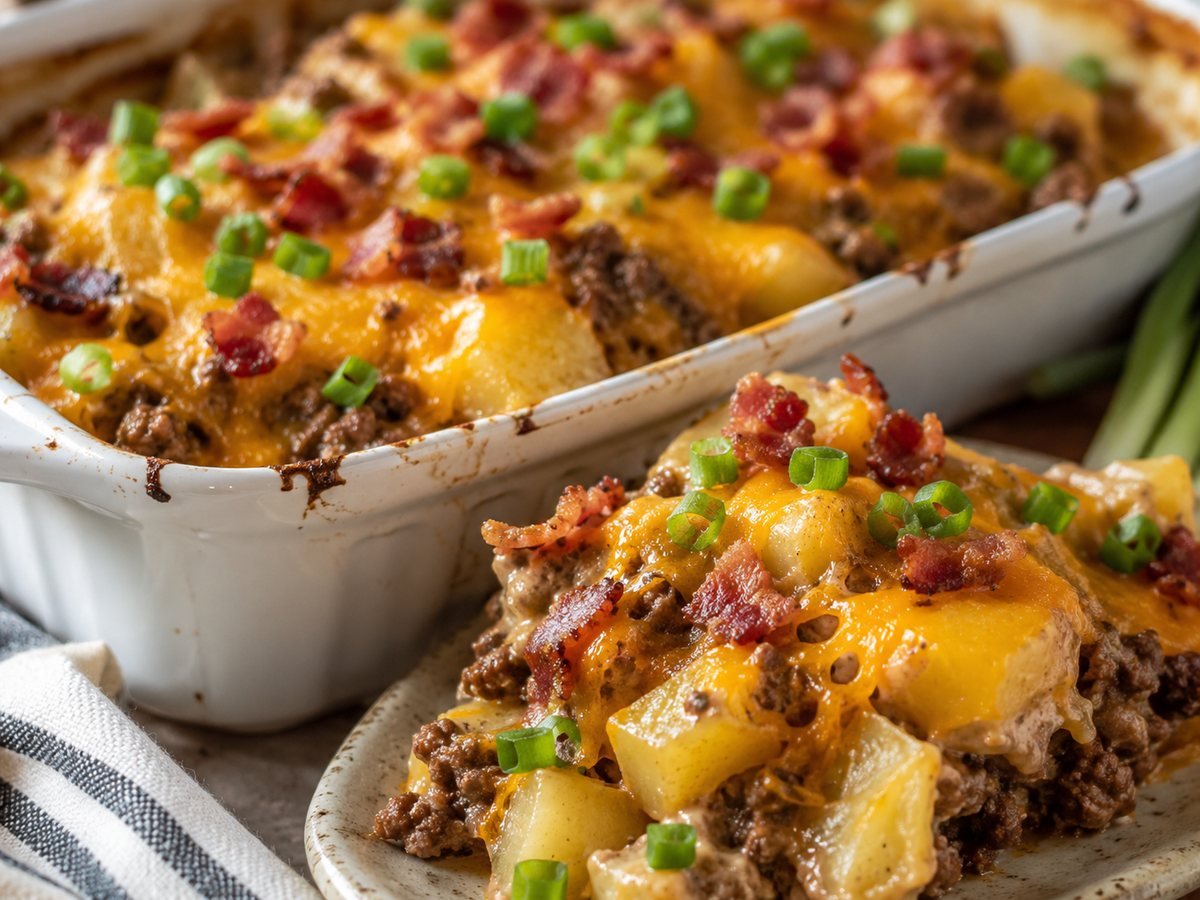
Loaded Cheeseburger Potato Casserole for an Easy Family Dinner
Loaded cheeseburger potato casserole layers seasoned beef, tender potatoes, cheddar cheese, bacon, and green onions into
View Recipe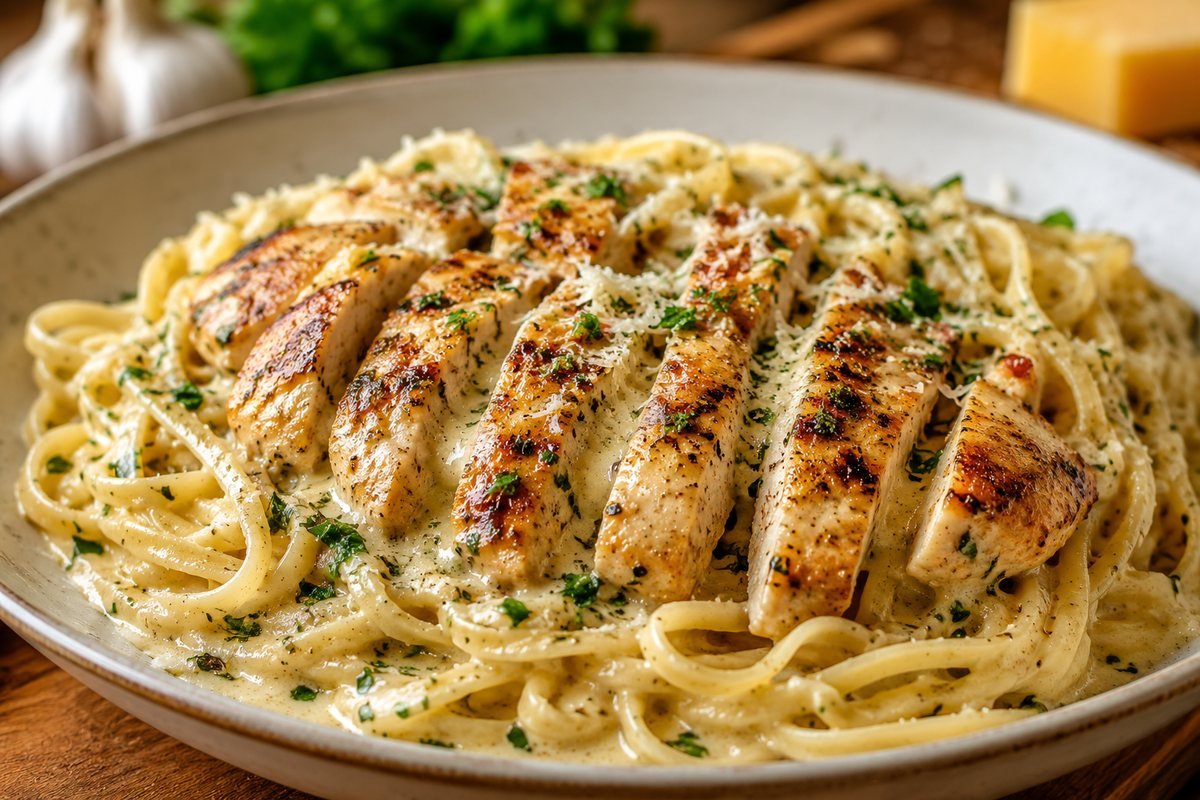
Creamy Garlic Parmesan Chicken Pasta That Tastes Like Restaurant Comfort Food
Creamy garlic parmesan chicken pasta with juicy sliced chicken, tender noodles, and a silky homemade parmesan sauce for
View Recipe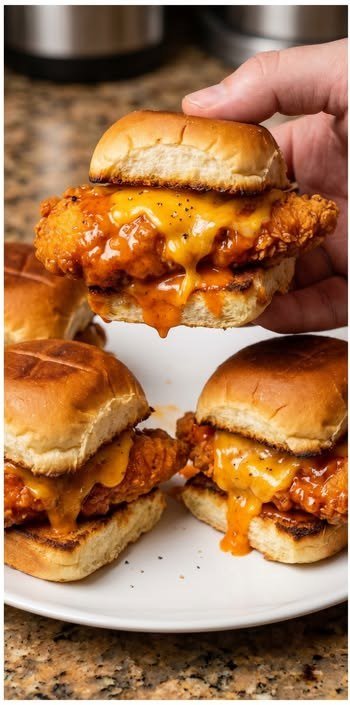
Crispy Chicken Tender Sliders with Fire Ranch Sauce
These crispy chicken tender sliders with fire ranch sauce are baked until crunchy, stacked on soft slider buns, and fini
View Recipe